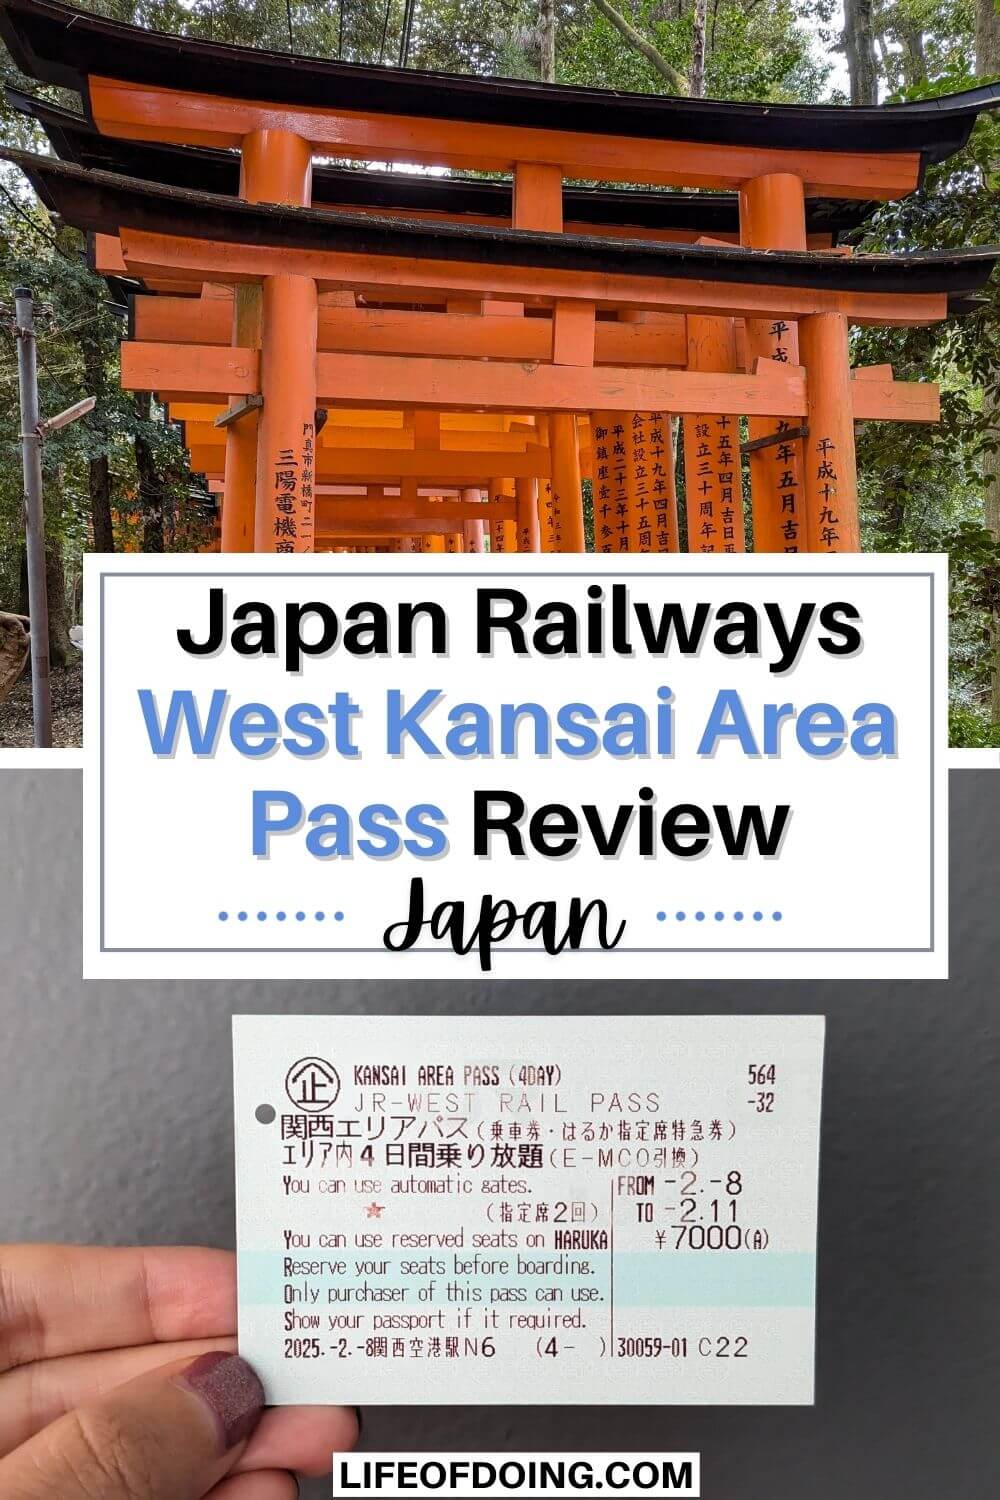
Looking for a train pass to use when exploring West Kansai (Osaka, Kyoto, Nara, and beyond) for a reasonable price? We have the perfect solution for you!
Japan Railways (JR), the largest train operator in Japan, has a JR West Kansai Area Pass. It’s available to international tourists in 1, 2, 3, or 4 days.
The pass covers JR local, special rapid services, rapid services, and the Airport Express Haruka train (the Hello Kitty train) from Kansai Airport.
Is the pass worth it? Yes, it is! Justin and I usually use our ICOCA IC card, a transportation card, when traveling in Kansai, as the major cities are close together. But we took my mother-in-law to Kansai for her first visit and brought her to the main attractions in Osaka, Kyoto, Nara, and Kobe. We maximized our 4-day JR West Kansai Pass extensively and took as many train rides as possible, so it was well worth the value.
We’ll share the details about the JR West Kansai Area Tourist Pass, such as the pros and cons of using it, what is included, and where we went. This post will help you decide whether you need it for your next trip.
Note: There is another pass that sounds similar to the Kansai Area Tourist Pass – the JR West Kansai Wide Area Pass. It’s a 5-day pass and has different coverage compared to the Area Tourist Pass, so click here to read the blog post comparing the passes.
*Disclaimer: This post contains affiliate links. If you click on them and make a purchase, we receive a small commission. There is no additional cost to you. Appreciate the support.
Quick Pros/Cons of JR West Kansai Area Pass
Don’t have time to read the post? Here is a quick snapshot of the top reasons and things to consider about the train pass.
Pros
- Super easy and convenient to use.
- The pass includes JR local, special rapid services, rapid services, and the Airport Express Haruka train.
- There is also a free 1-day pass for the Kyoto City Subway, Keihan Railway, and Hankyu Railway.
Cons
- Planning your itinerary is required.
- Shinkansen (high-speed bullet trains) cannot be used with the pass.
- You need to use the pass within 1 day, or 2, 3, or 4 consecutive days. Breaks are not allowed.
Benefits of the Pass (Pros)
Visit new areas of Kansai.
The pass covers the following cities – Osaka, Kyoto, Otsu, Tsuruga, Kansai Airport, Nara, Wakayama, Kobe, and Himeji.
While most people will go to Osaka, Kyoto, and Nara, the pass allows you to explore the less touristy areas.
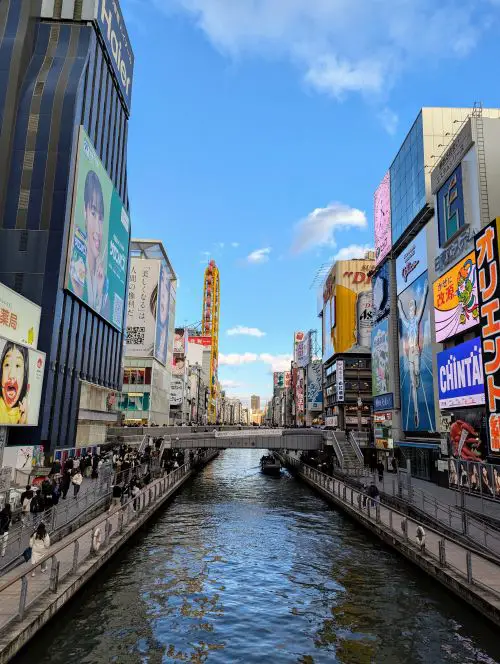
Dotonbori Street is a popular destination to visit in Osaka
We recently went to Wakayama and loved the low-key ambience. It wasn’t crowded compared to Kyoto. The gorgeous Wakayama Castle and the Wakayama Electric Railway Cat Train were fun to visit. We haven’t been to Otsu or Tsuruga yet.
Stay longer in West Kansai, and the pass can save you money.
Here are the costs for the pass:
- 1 Day: 2,800 yen (Adults), 1,400 yen (Children 6-11 years old)
- 2 Days: 4,800 yen (Adults), 2,400 yen (Children)
- 3 Days: 5,800 yen (Adults), 2,900 yen (Children)
- 4 Days: 7,000 yen (Adults), 3,500 yen (Children)
As you can see, having the pass for 4 days is much cheaper than for 1 day. For the 4-day pass, adults need to spend at least 1,750 yen per day to break even.
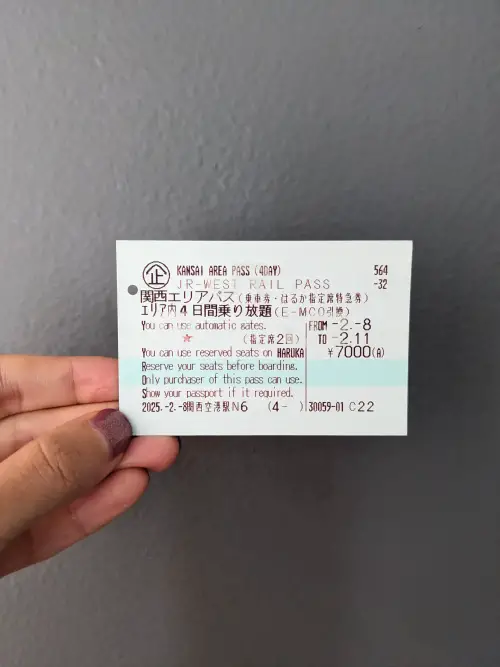
This is what the 4 day Kansai Area Pass looks like
We used the pass for 4 days, and it was easy for us to reach the 1,750 yen per day for the transportation. We stayed in Osaka and took the train to Kobe, Kyoto, and Nara. We even took the train for short 1-2 minute rides.
Here are a few trains that we took to see the pricing for one adult:
- One way from Kansai Airport to Kyoto on Haruka Airport Limited Express: 3,640 yen
- One way from Shin Imamiya (Osaka) to Uji (Kyoto) on local train: 1,170 yen
- One way from Kyoto to Namba (Osaka) on local train: 950 yen
- One way from Shin Imamiya (Osaka) to Namba on local train: 140 yen
We calculated that we spent 11,480 yen over 4 days, which exceeded the pass’s value of 7,000 yen. We love saving money!
TIP: To maximize your schedule, plan where to go and the nearest JR station. Use the JR West Timetable and Route Finder to calculate the cost between the starting and ending stations. You can also find the train schedule. Afterward, calculate if the one-day or multi-day pass is worth it.
Save time with the pass.
Buying individual tickets is a headache since you need to find where you need to go and use cash to purchase them. This will cost you time, and you may miss your train!
The pass solves this issue by placing your pass into the turnstile, and then entering and leaving the station.
How to Get Your Pass
Step 1: Buy the pass online and receive an e-voucher. You can buy on the JR Pass website or a third-party vendor, such as Klook. We bought this exact pass on Klook.
Step 2: Print your e-voucher.
Step 3: Redeem your e-voucher at a JR ticket office, such as Kansai Airport Station. Show your passport.
Note: You’ll also receive your 1 day voucher for Kyoto City Subway, Keihan Railway, and Hankyu Railway here. More information in the next section below.
Step 4: Receive a light green train ticket with the start and end date and insert it at the turnstiles. Do not lose the ticket.
The pass covers JR lines and has free 1 day passes for other railways.
As mentioned earlier, this pass covers all JR train lines in the designated region, such as local, rapid, express, and limited express.
The Haruka Limited Express (Hello Kitty) train from Kansai Airport is included in the pass. It costs 3,640 yen from the Airport to Kyoto Station, so the pass is already worth it. You can do a round-trip on this train. You can reserve a seat up to two times for the Reserved Seating Car. No need to pay extra for a reserved seat.
Note: Your pass gets marked with a red star for each seat reservation.
But, shinkansen (high-speed bullet trains) are not included in the pass.
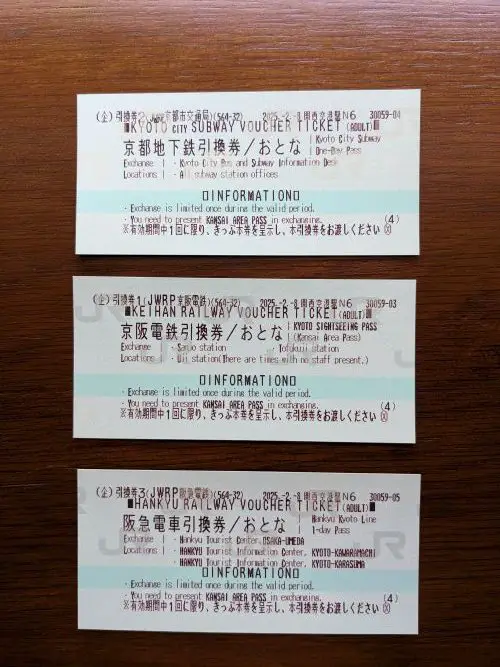
Here are the three non-JR railway vouchers that you’ll receive with the Kansai Area Pass
What is cool about this JR West Kansai Area Pass is that you get a free one day pass for the other transportation operators – Kyoto City Subway, Keihan Railway, and Hankyu Railway.
The Kyoto City Subway pass covers the JR West city buses and the local subway line. The bus pass is helpful when temple hopping in Kyoto as the temples are not near a train station.
Usage is only in the Kyoto area and is valid during the same duration as the JR Pass. So, you cannot use these 1 day passes if your JR Pass has ended.
Remember how you received 3 vouchers for the Kyoto City Subway, Keihan Railway, and Hankyu Railway when receiving the JR Pass?
You need to exchange the 1 day voucher at the specific sites to receive a physical pass. You’ll also need to present your Kansai Area Pass. So, please allow extra time to redeem your voucher for the passes.
Here are the exchange sites:
- Kyoto City Subway: At Kyoto City Bus and Subway Information Desk or any subway station offices
- Keihan Railway: At Sanjo Station, Tofukuji Station, or Uji Station
- Hankyu Railway: At Hankyu Tourist Center Osaka Umeda, Hankyu Tourist Information Center at Kyoto Kawaramachi or Kyoto Karasuma.
Unfortunately, we didn’t have a chance to use these 1 day passes due to our packed schedule. We missed out on an amazing perk.
Things to Consider About the Pass (Cons)
Calculate if the pass is worth the price.
For those who like to plan trips, this will be an important factor in determining if the pass is worth it.
As mentioned above, you’ll need to create a rough itinerary of where to go. Then, you’ll need to look up the cost between the start and ending JR stations. Afterward, calculate the total train cost and compare it with the pass.
For travelers who prefer to take their travels day by day, this pass will not be worth it. It’ll be better to buy individual train tickets or use an IC card (Suica, Pasmo, ICOCA) to enter and leave the station.
The pass does not cover Shinkansens (high-speed bullet trains).
If you want to use any Shinkansens, you’ll need to pay out of pocket.
So, you’ll need to factor in extra travel time on the local trains. The limited express and rapid trains will get you to your destination faster, so consider these options during your planning.
TIP: Use Google Maps to find the train schedule and estimated cost of the ride (It’s not always accurate compared to using the JR West Timetable). If you use Google Maps app, you can filter your results by “Best route, Fewer transfers, and Lowest cost.” The lowest cost will often show the local trains that will be acceptable for the pass.
If you buy the multi-day pass, you need to use it for consecutive days.
For example, if you start the 3 day pass on April 1, then you have till 11:59pm April 3 to use the pass.
Cost
- 1 Day: 2,800 yen (Adults), 1,400 yen (Children 6-11 years old)
- 2 Days: 4,800 yen (Adults), 2,400 yen (Children)
- 3 Days: 5,800 yen (Adults), 2,900 yen (Children)
- 4 Days: 7,000 yen (Adults), 3,500 yen (Children)
Where to Buy the Pass
Buy the pass directly from the JR Pass website or an approved third-party vendor, such as Klook.
We love Klook and use it for every Japan trip. Whether it’s buying tickets to attractions or rail passes, Klook makes it easy for us to purchase and redeem the e-vouchers or physical vouchers. Sometimes, Klook adds a free item to your order, such as eSIM.
Where We Traveled With the Pass
We had four days to use our JR Pass. For the non-JR lines, we used our IC card.
We also stayed in Osaka near Shin Imamiya Station and took the train to our day trip destinations.
- Day 1 – Activated the pass. Took the Haruka Airport Limited Express Train from Kansai Airport to Kyoto. We explored the Arashiyama area.
- Day 2 – Traveled to Horyuji and Nara. We returned to Osaka’s Namba area for dinner.
- Day 3 – Went to Kyoto’s Fushimi Inari Shrine and then shopped in Osaka’s Namba area.
- Day 4 – Traveled to Kyoto’s Uji and then went to Osaka Station for dinner. It was our last day of the pass.
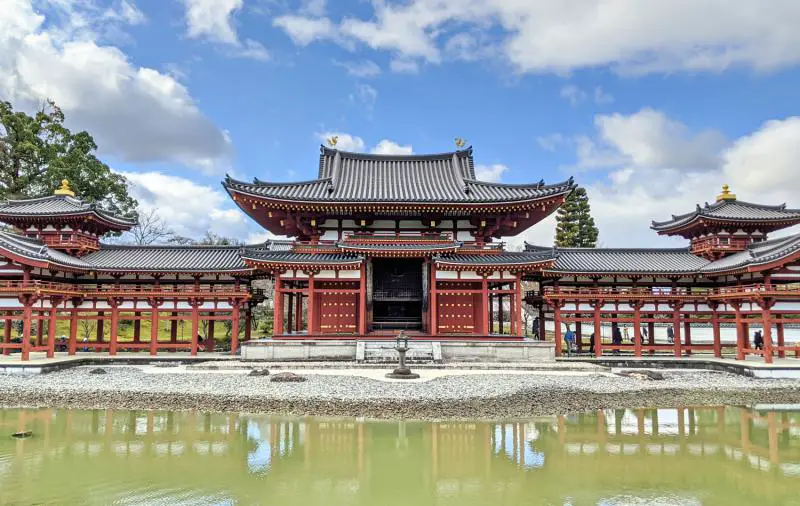
Byodoin Temple’s Phoenix Hall is a picturesque area to explore during your day in Uji.
Final Thoughts
We loved using this pass and wouldn’t hesitate to use it again for another trip. It helps that the pass includes the Haruka Airport Express train to leave the airport faster.
We went to many places and gave my mother-in-law a whirlwind of an adventure through Kansai.
If you have any questions about this pass, please ask a question in the comment section below.
Check out our other tourist train passes that we’ve written about:
- JR Northern Kyushu 5 Day Pass
- JR Regional Ise-Kumano-Wakayama Area Tourist 5 Day Pass
- JR West Kansai Wide Area Vs. Kansai Area Pass – Which is Better?
- JR Hokkaido Sapporo Furano Area Pass
Like this post? Save it to your Japan Travels Pinterest Board.