
Ragged Point Trail (also referred to as Black Swift Waterfalls Trails) is short and slightly challenging .75-mile out-and-back cliffside hiking trail with pretty views of the ocean and leads to a secluded beach.
Located behind Ragged Point Inn in Ragged Point, California, between the south end of Big Sur and San Simeon, this hiking trail is hidden. Yet, it’s a fantastic addition to your Big Sur road trip. Plus, it’s free to access.
In this Ragged Point Trail hiking guide, we’re sharing details about what to bring and things to know about the hike.
During the planning phase of our Big Sur trip, we found out about Ragged Point Trail (listed as Black Swift Waterfall on Google Maps). We thought it was a good stopping point to see the waterfall.
However, there wasn’t a waterfall on our visit, maybe due to the summer drought. Regardless, we enjoy our time on this trail.
*Disclaimer: This post contains affiliate links. As an Amazon Associate, we earn from qualifying purchases. If you click on them and make a purchase, we receive a small commission. There is no additional cost to you. Appreciate the support.
Ragged Point Trail/Black Swift Waterfall Hiking Overview
This day hike is doable to complete in less than an hour. You can stay longer if you want to hang out on the Ragged Point beach.
- Challenging level: Easy to Moderate
- Distance: .75 miles round trip
- Elevation: 322 feet (according to Strava)
- Time to complete: 30 minutes to 1 hour
- Helpful tips:
- Use the bathroom before you arrive at the trail as there aren’t any along the trail.
- Wear shoes with traction. Hiking poles will be helpful but they’re optional.
- Children can do this trail but need to be very careful in slippery and muddy areas.
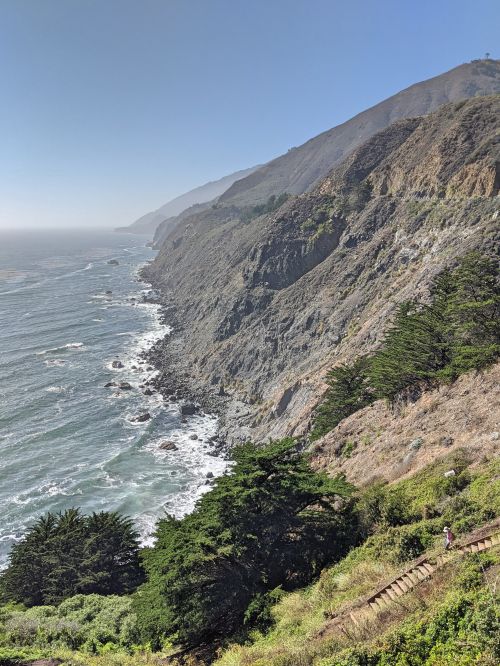
You’ll see gorgeous landscape views when hiking on Ragged Point Trail.
How to Get to Ragged Point Trail
Ragged Point Trail is between Big Sur and San Simeon so it’ll depend on your starting point for your California coastal road trip.
The trail is located in the back of the Ragged Point Inn and Restaurant area, so park in the guest parking lot and go from there.
From Big Sur to Ragged Point Trail
The distance is around 50 miles between Big Sur and Ragged Point Trail and will take 1 hour and 15 minutes by car.
The easiest way is to travel southbound on Highway 1 to get to Ragged Point. The destination is on the right. Click here for driving directions.
From San Simeon to Ragged Point Trail
San Simeon is closer to Ragged Point than Big Sur. The distance is only 15 miles away and will take 20 minutes of driving.
Drive along Highway 1 northbound and the destination is on the left. Click for driving direction.
When To Hike Ragged Point Trail
This hiking trail is open at any time of the day. The sign at the beginning of the trail didn’t mention any opening and closing times.
We started this hike at 5:00pm at July so the sun was still out.
If you hike this trail at night, you must bring a handlamp. The trail does not have any lights.
We do not recommend hiking this trail when it’s rainy or if the trail is muddy. There are some steep areas with no handrails so you will slip and fall.
As mentioned earlier, we did not see a waterfall on the trail as we visited during the summertime. There may be larger waterfall cascades during the rainy season in wintertime.
What to Wear for the Ragged Point Hike
- Technical t-shirt – Wear a moisture-wicking t-shirt to absorb the sweat.
- Comfortable pants or shorts
- Comfortable walking shoes with traction or trail running shoes – Hiking boots are not needed but you can wear them if you feel more comfortable. Justin wore Nike Free shoes while I wore Altra trail running shoes. You’ll want to have shoes with traction. Buy Altra Superior Men Shoes or Altra Superior Women Shoes here.
- Comfortable walking socks or moisture-wicking socks
What to Bring for the Ragged Point Hiking
- Backpack (optional) – Since this hike is short, it’s not necessary to bring a backpack, yet it’ll be easier to hold snacks, water bottles, and other necessities. Plus, you can be hands-free. Check out our favorite daypacks here: men’s day pack option / women’s day pack option.
- Reusable Water Bottle – Stay hydrated during your hike and use a reusable water bottle. There aren’t any water fountains along the trail. These are our favorite reusable water bottles to bring with us everywhere.
- Hat – The trail does not have any shade so protect yourself from the sun. Buy this hat.
- Sunscreen – Protect your skin from the sun. Check out this sunscreen.
- Sunglasses – Here are our favorite sunglasses.
- Hiking poles (optional) – You may need these for extra stability along the trail. We love to use these poles.
- Headlamp (optional) – If you plan to hike at sunrise or sunset, then you’ll need a source of light.
- Beach gear – If you want to hang out on the beach, then prepare your beach essentials such as towels and swimsuits.
Our Experience Hiking Ragged Point (Black Swift Falls) Trail
Ragged Point Trail was the last hiking trail of our Big Sur 2-day itinerary and it was a memorable one.
We did the hike in mid-July and started the hike around 5:00pm so the sun shined brightly. The weather was warm but slightly cool due to the coastal breeze.
After parking our car in front of Ragged Point Inn and Restaurant, tightening our shoes, and walking to the back of the complex, we reached this ominous sign at the start of the trail.
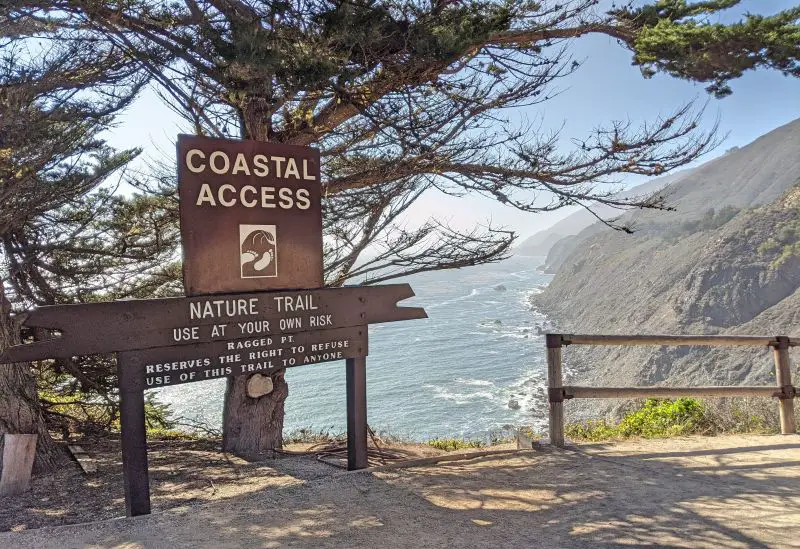
While the sign didn’t deter us, it was a good reminder to be careful of the trail conditions for any hike.
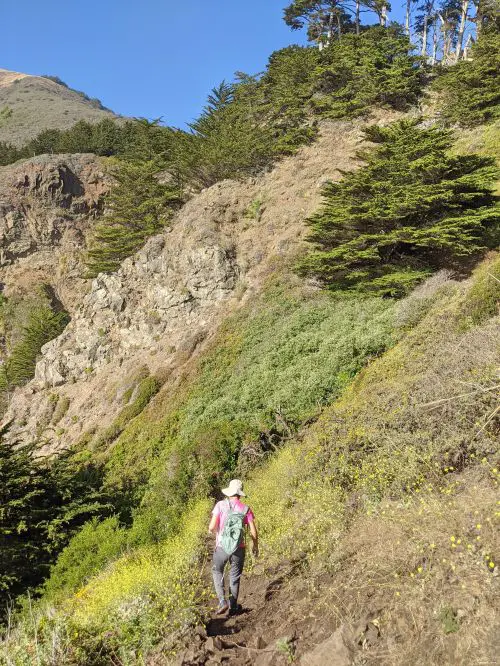
The beginning of the trail had a wooden staircase (20-30 steps) and then the rest of the narrow trail was on the dirt. Expect to go downhill to reach the ocean.
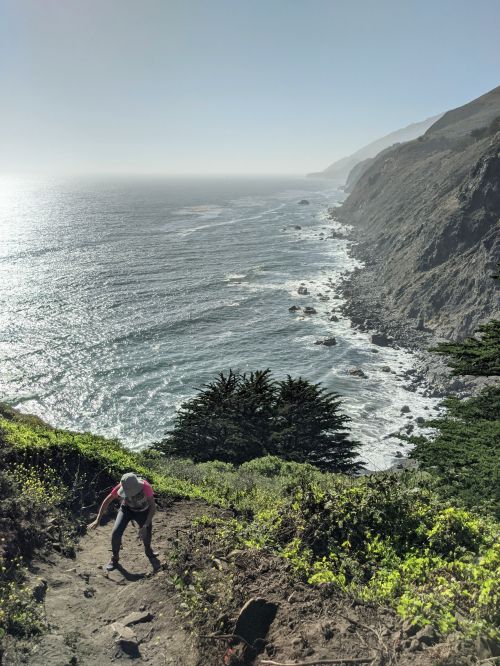
Some parts of the trail were steep, slightly muddy, and required short sideways steps. Just take your time and do not rush. These areas are where the hiking poles would be helpful.
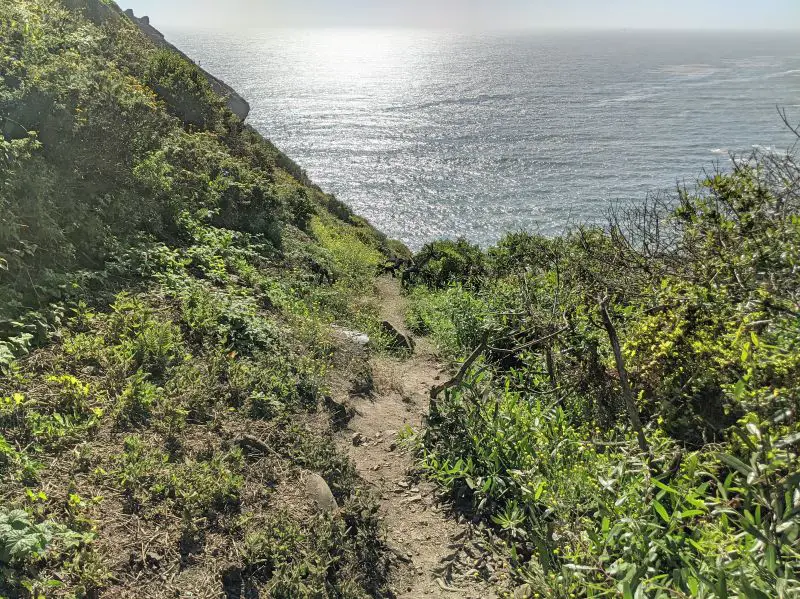
Along the way, we passed by yellow wildflowers and had gorgeous views of the Pacific Ocean. The beach got closer and closer as we headed down.

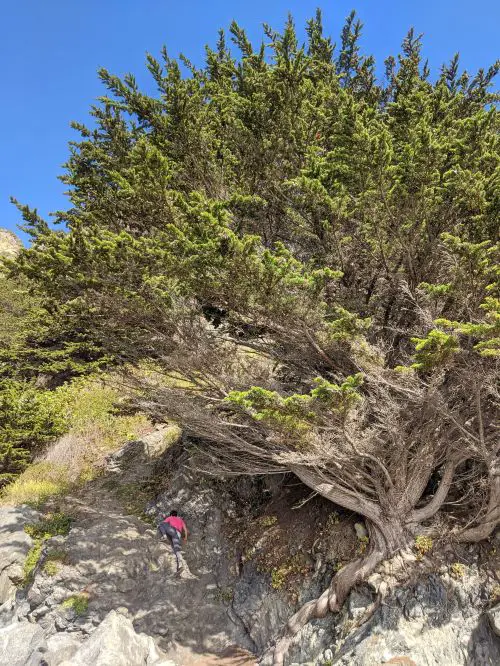
When we were close to the bottom of the trail, it was scrambling time!
The easiest way to get to the beach was to walk and climb down on giant boulders and rocks and cross wooden planks to navigate down to the beach area. The experience wasn’t too bad but just be careful to get the proper footing.
The view of the ocean was beautiful and peaceful. We watched the ocean pass by on one of the rocks.
The secluded beach was small. It’s possible to stay longer to hang out there, but you would need to watch the waves as they get closer to land.
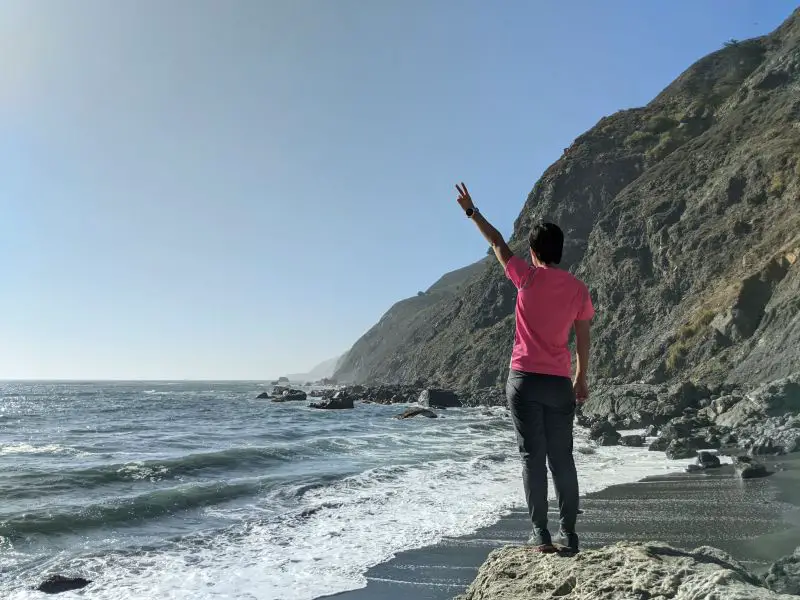
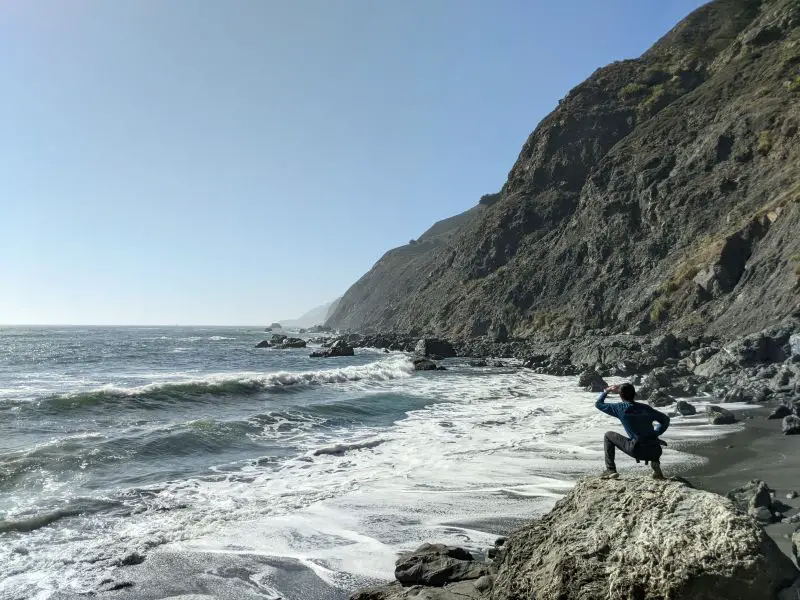
Here is the beach and ocean view from the bottom of Ragged Point Trail.
Once we finished soaking in the beauty of the area, it was time to head back up the rocks. The trail is the same to return to the parking lot. We decided to take the adventurous (not a shortcut) way and climb up along the wall.
We passed by what we think is the Black Swift Waterfall, but it was just a dribble.
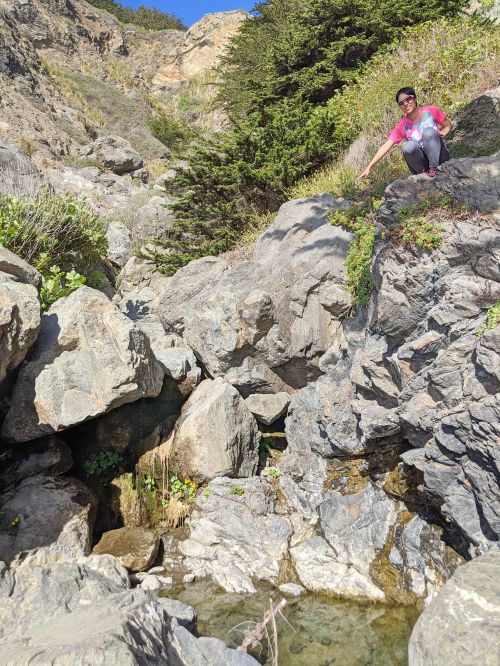
Is this the Black Swift Waterfall?
During our visit, we saw 6 hikers on the trail. Not many, but at least the trail was very quiet.
 |
 |
Final Thoughts
We enjoyed the Ragged Point Trail hike and would recommend that you try it out when you’re in the area.
It won’t take long for you to complete the hike. Plus, you’ll get some pretty views of the coastline and enjoy quietness along the trails.
After you’re done with the hike, feel free to stop by the Ragged Point restaurant or store to pick up some snacks and ice cream as a treat.
You can even stay overnight at Ragged Point Inn. Book a room here.
Hope you get the chance to visit this trail!
Looking for other places to visit nearby? Check out the posts below:
2 comments
This looks like such a beautiful hike! We are in the process of planning/carrying out a bus conversion project which the goal to drive across Canada and the US on a big 6-month getaway and are adding new places to visit, hike, and explore to our list all the time. I have put this trail on the list!
Oh gosh. Your bus conversion project sounds like a huge task! Visiting Big Sur and Ragged Point would be a lovely place to add to your road trip list.